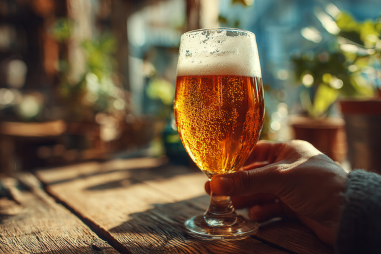
Dreaming of brewing a rich, complex imperial stout right in your own kitchen? Homebrewing an imperial stout is a rewarding challenge that allows you to create a bold, full-bodied beer packed with deep flavors and high alcohol content. Whether you’re a seasoned homebrewer or just starting out, this guide will walk you through the key steps, necessary equipment, and expert tips to help you successfully brew your very own imperial stout that you can proudly share with friends and family.
Why Brew an Imperial Stout at Home?
Imperial stouts are renowned for their intense flavor profile and robust character. Unlike lighter beers, imperial stouts pack a punch both in alcohol content—typically ranging from 8% to 12% ABV—and in complex flavors like roasted malt, chocolate, coffee, and dark fruits. Brewing an imperial stout at home offers several exciting advantages:
- Creative freedom: You can experiment with different malts, hops, and adjuncts to tailor the stout to your taste preferences.
- Learning experience: This style pushes your brewing skills with extended mash times, precise fermentation controls, and higher gravity wort.
- Cost efficiency: Brewing at home is more economical than purchasing craft imperial stouts commercially, especially if you brew regularly.
- Satisfaction: There’s nothing quite like cracking open a bottle of beer that you created from scratch, showcasing your craftsmanship.
Plus, as you master the process, you can add your own twists like aging in oak barrels or adding coffee and vanilla to make your imperial stout truly unique.
Necessary Ingredients and Equipment
Before you dive into brewing, it’s essential to gather the right ingredients and equipment. Precision and quality at this stage will influence your final product greatly.
Ingredients
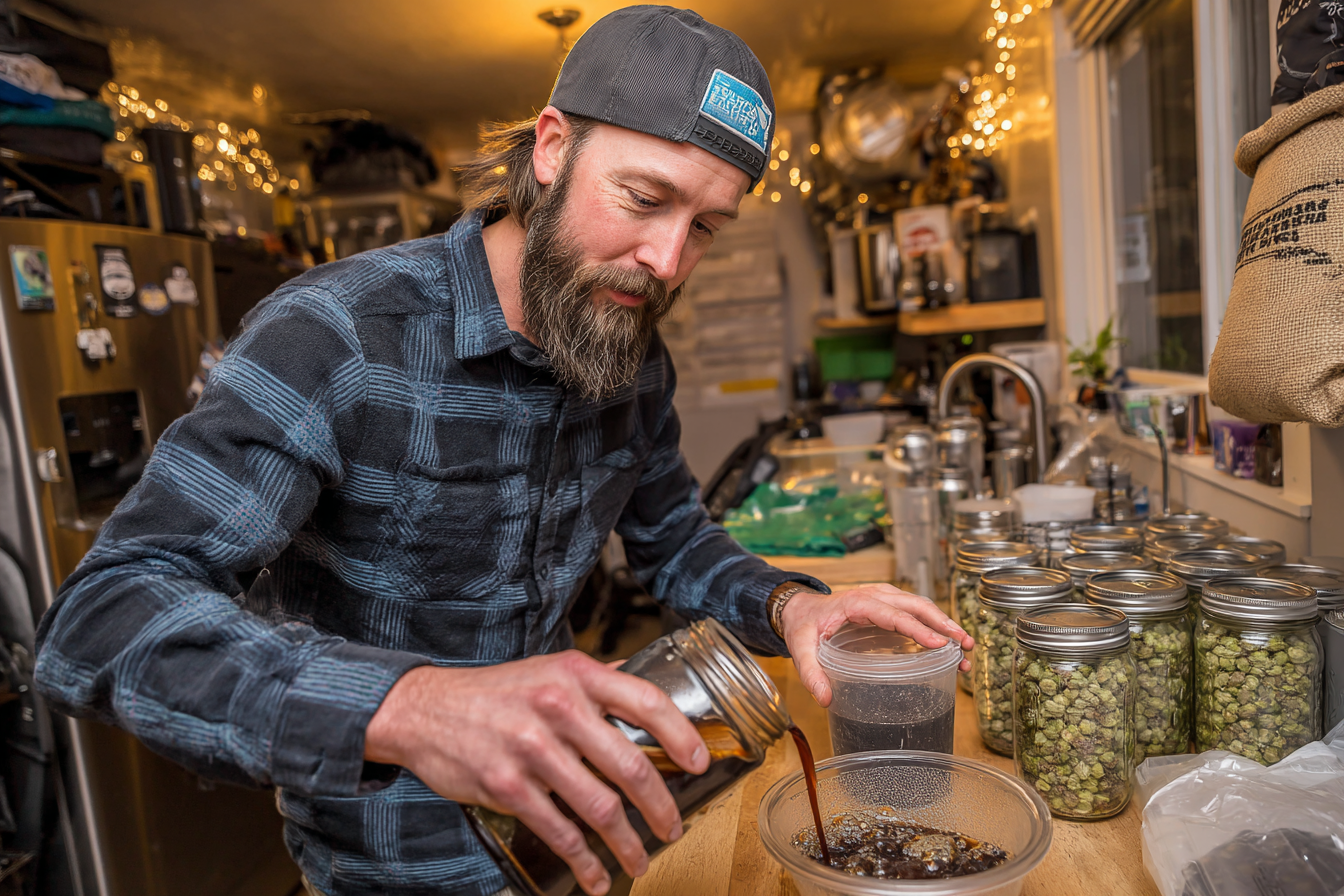
- Malt: Start with a strong malt base that typically includes pale malt, but the backbone of an imperial stout comes from specialty dark malts such as chocolate malt, black patent malt, roasted barley, and crystal malts. These provide the signature roasted, coffee, and chocolate flavors.
- Hops: Use hops that balance the malt sweetness. Traditional English varieties like East Kent Goldings or American hops like Centennial or Cascade can work depending on your flavor preference. Bitterness is higher than typical stouts to offset the richness.
- Yeast: A high-alcohol tolerant yeast strain designed for strong ales is key. English ale yeast or specialized imperial stout yeast strains work well.
- Adjuncts (optional): Consider adding ingredients like oats for smoothness, lactose for sweetness, or flavor boosters like vanilla beans, coffee beans, or cocoa nibs depending on your recipe.
- Water: Clean, filtered water with a balanced mineral profile enhances the malt character and overall flavor.
Equipment
- Brew kettle: At least 5-gallon, preferably stainless steel or food-grade to hold your mash and boil.
- Mash tun: For all-grain brewers, a vessel that holds a temperature-controlled mash of your grains.
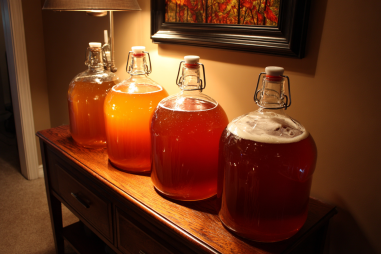
- Fermentation vessel: Glass carboy or food-grade plastic fermenter with temperature control capability.
- Airlock and stopper: To prevent contamination while allowing gases out during fermentation.
- Siphon or racking cane: For transferring wort and later beer without introducing oxygen.
- Hydrometer or refractometer: To measure the gravity pre- and post-fermentation.
- Sanitization supplies: Extremely important to sanitize all brewing equipment thoroughly to avoid infections.
Step-by-Step Brewing Process
Here’s a simplified step-by-step approach to brewing your imperial stout:
- Mash: Heat your grains with water at around 150-155°F (65-68°C) for 60 to 90 minutes to convert starches to sugars. This phase is critical for extracting rich malt flavors.
- Lauter and sparge: Drain the sweet wort from your mash tun and rinse the grains with hot water to collect maximum fermentable sugars.
- Boil: Bring the wort to a rolling boil for about 60-90 minutes. During this time, add hops in stages for bitterness, flavor, and aroma. Keep in mind longer boils concentrate flavors and caramelize the wort, enhancing complexity.
- Cool wort: Quickly chill the wort to yeast-friendly temperatures (65-70°F / 18-21°C) to minimize contamination risks and prepare for fermentation.
- Transfer to fermenter: Carefully siphon the cooled wort into your sanitized fermenter.
- Pitch yeast: Add your yeast and give it gentle aeration to start fermentation.
Managing Fermentation and Conditioning
Fermentation can take anywhere from 2 to 4 weeks for an imperial stout due to the higher alcohol content and complex sugars.
- Temperature control: Maintain fermentation temperatures suitable for your yeast strain—typically between 65-72°F (18-22°C). Consistency here encourages clean yeast performance and avoids off-flavors.
- Patience: Imperial stouts require time to develop their full profile. Primary fermentation usually lasts two weeks, followed by a secondary conditioning phase which can last several more weeks to mellow harsh alcohol notes and deepen flavors.
- Monitoring: Use a hydrometer to check if fermentation is complete by verifying the gravity remains steady over several days.
Once fermentation finishes, transferring the beer to a secondary fermenter or conditioning vessel helps clarify the beer and improve taste.
Common Mistakes and How to Avoid Them
Brewing an imperial stout comes with challenges, but knowing common pitfalls can save you time and frustration.
- Overheating the malt: Excessive mash or boil temperatures cause burnt or harsh flavors. Monitor closely and maintain recommended temperature ranges.
- Underpitching yeast: Due to the high gravity wort, not pitching enough yeast can cause stuck fermentation. Use a yeast starter to ensure adequate yeast cells.
- Lack of oxygen at pitching: Yeast need oxygen to multiply early in fermentation. Aerate your wort well before pitching.
- Rushing fermentation or conditioning: Skipping lengthy conditioning results in harsh alcohol notes and incomplete flavor development; patience is essential.
- Sanitation lapses: Even minor contamination can ruin a batch. Sanitize everything thoroughly.
Tips to Enhance Flavor and ABV
Want to make your imperial stout even more impressive? Try these tips to elevate your brew:
- Add specialty malts: Incorporate caramel, chocolate, or roasted barley to deepen complexity and mouthfeel.
- Use adjuncts: Consider adding lactose for a creamy sweetness or specialty additions like coffee, vanilla beans, or cacao nibs post-fermentation for unique flavor notes.
- Incremental hop additions: Adding hops late in the boil or during fermentation (dry hopping) can introduce fresh hop aroma to balance malt sweetness.
- Extended aging: Allow bottles to condition for several months to mellow alcohol harshness and meld flavors.
- High gravity wort preparation: Start with a higher original gravity (OG) wort but ensure yeast strain can handle the ABV to boost potency.
- Temperature ramping: Gradually increase fermentation temperature near the end (a “diacetyl rest”) to clean up off-flavors.
Bottling and Storage Advice
Once your imperial stout has fully fermented and conditioned, bottling requires care to maintain quality and carbonation.
- Sanitize bottles and equipment: Avoid contamination by thoroughly cleaning everything that will touch the beer.
- Priming sugar: Add a calculated amount of priming sugar to the beer before bottling to induce carbonation. Too little causes flat beer; too much risks gushers or bottle bombs.
- Fill carefully: Leave some headspace in bottles and avoid splashing to minimize oxidation.
- Cap securely: Use new, undamaged caps for a tight seal.
- Store upright: Keep bottles at room temperature for carbonation to develop, then transfer to a cool dark place for long-term aging.
- Aging: Imperial stouts improve significantly with time—six months or more can yield richer, smoother beer.
Embarking on brewing your own imperial stout is a satisfying pursuit that combines art and science. With the right ingredients, equipment, and a patient approach, you’ll be well on your way to crafting a sumptuous beer that captures the spirit and complexity of this beloved style. So gather your gear, brew with passion, and enjoy the process—and the delicious results!